Editus is a powerful editor that allows you to create, edit and manage your PDF documents in an easy way. We will walk you through the step on how to use it.
First, let’s start with some definitions:
An Edition is a selection of pages, think of it like a folder that has one or several pages. Having Editions allows you to organise your projects and easily export a combination of pages at once.
You have to create an Edition to start editing, you cannot create pages without having an Edition first. For example the project “My book” can be an Edition with multiple pages.
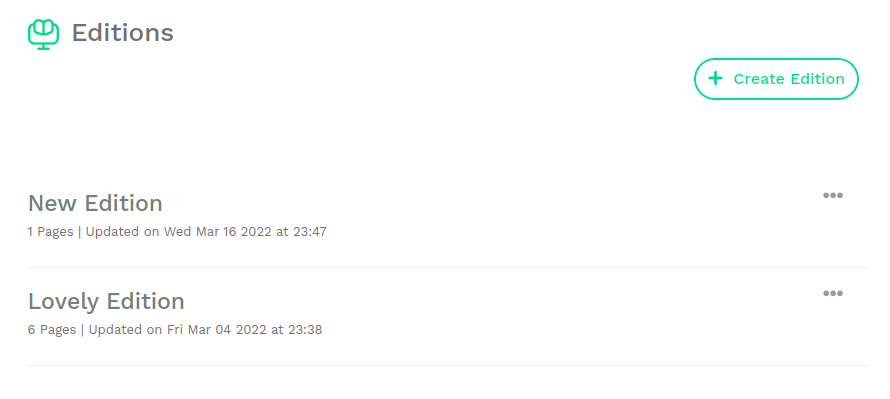
You can view your existing Editions, or create new ones from the Edition listing view, you can access the Edition listing view from the Dashboard by clicking on “Editions” or by using the sidebar navigation.
Here are the available functionalities in the Edition Listing view:
 ) that is located on the right side of the Edition’s title and select “Delete”.
Note: Exported PDFs are kept on our system for 14 days after which they will be deleted.
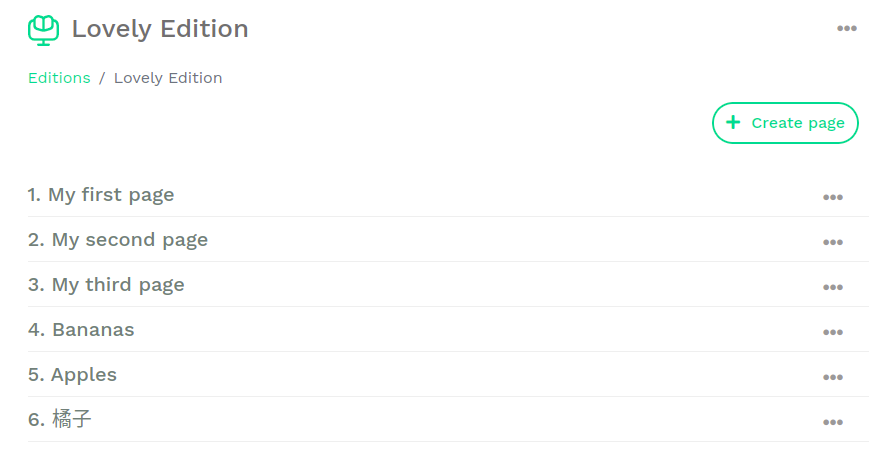
A Page is a document that you create within an Edition, it holds the content of your future PDF document; the page corresponds to an actual A4 document once exported as a PDF. One or multiple pages can be created within an Edition.
You can view pages when you click on an Edition from the Edition listing view.
There are a few functionalities available that can be executed in the Page listing view (the Edition):

This powerful feature allows you to create and edit templates to use in your pages.
Templates can be designed, just like pages with the Editor , and can have one or several containers, these containers will show in all the pages in which the Template has been used
The most suitable scenario for using Templates is to create a header or a footer for your Edition, so instead of creating a header in each page, create a Template with a header, then use this template in your pages.
You may decide to apply changes your header later on, i.e change background colour, you can easily do that in the template and the changes will automatically reflect in all the pages in which the template has been used.
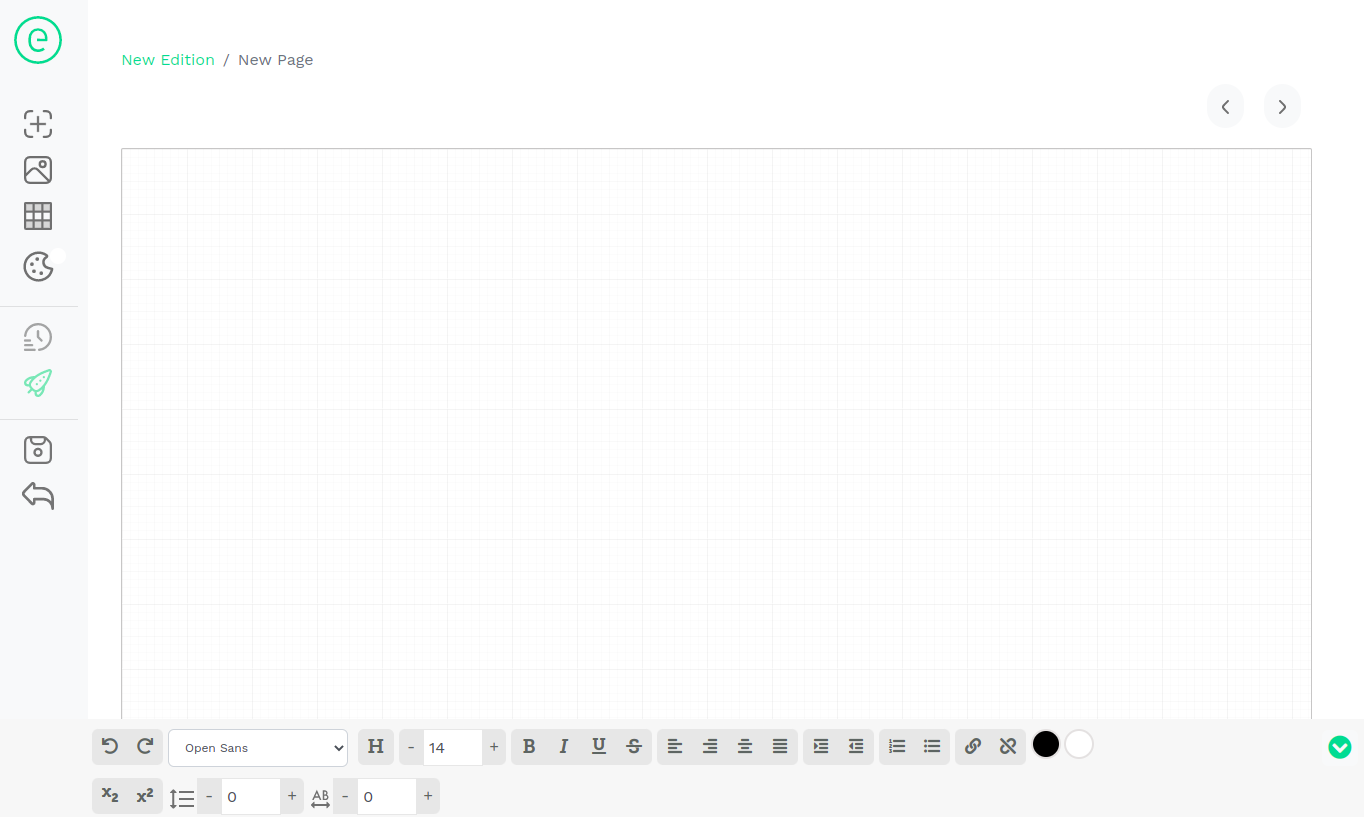
The editor is the tool that allows you to design PDF documents, it is accessible from inside Pages.
To access the Editor, open an existing page, or create a new one.
The editor has multiple functionalities that allows you to create almost anything you can think of. The editor comprises of:
Here are the available functionalities in the main toolbar:

A container is an empty block that allows you to add text to your page, text cannot live outside of containers.
To create a container, click on the (+) icon in the Toolbar:
An empty container will be added to the Editing area.
You can start typing text or paste some text from a web page or a document.
More details about how to style the text inside the container will follow below.

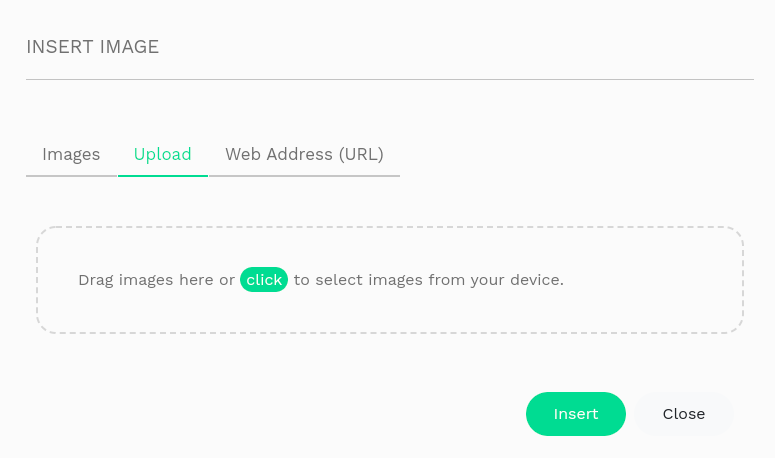
Click on this icon to add an image to your page.
Once clicked, the Media pop-up window will appear allowing you to pick an image from your image library, if you want to add a new image to your library, click on the “Upload” tab, which will allow you to upload an image from your computer’s hard drive to your Media library.
Once the image is successfully uploaded, it will appear in the Media library, click on it to select it then click on “Add”, this will place the image in the Editing Area.
Images bigger than 2Mb are not allowed to be uploaded.
You can link an image from the internet as well, find the image on the internet, right click on it and select "Copy image address", head to the URL section in the image pop-up window and paste the address, then save.
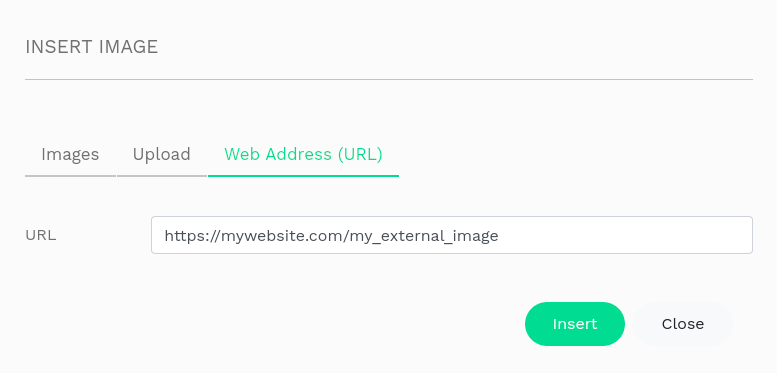
The image will show in your page as long as it is available in the original location.

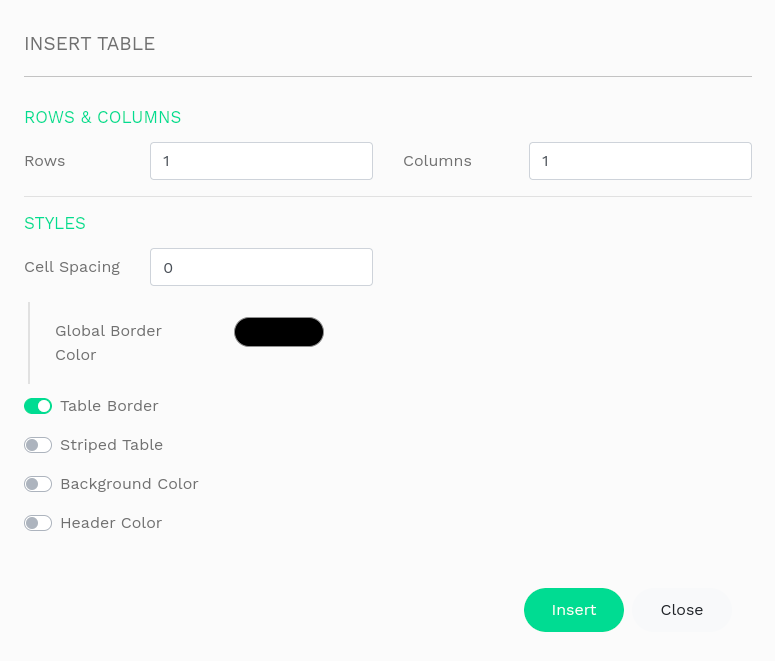
This allows you to create tables.
Once you click on the Table icon, a pop-up screen will appear allowing you to configure your table.
Insert: allows you to insert a table with the specs you have just defined.

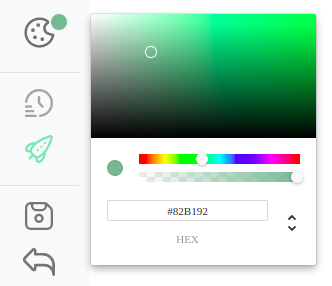
This allows you to change the background colour of containers.
Create or select a container, click on the Background Colour icon, a Colour Picker will appear allowing you to select a colour, or alternatively paste a HEX value.
This feature allows you to apply a Template previously created (in the Templates section).
Once you apply a Template in your page, it will locked and cannot be edited from the page views, to edit the used template, go to Templates section and edit your template there and override, the changes will reflect in your page.
This displays a preview of the page before exporting.

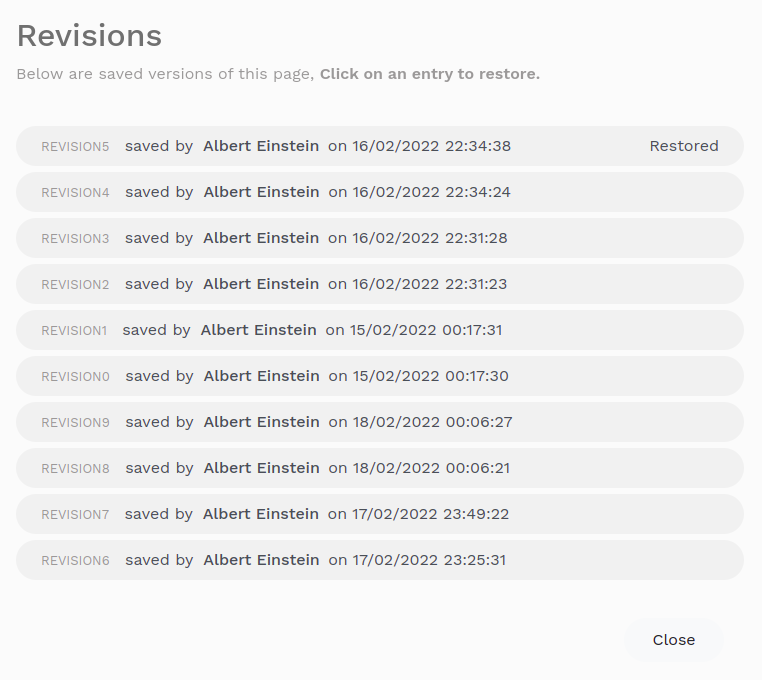
Revisions are saved copies or versions of a page. Each time you save a page, a revision is created.
The Revision Window shows you the last 10 saved version of a page and allows you to restore them.
Click on the Revision icon to show the Revision pop-up window, available Revisions will show with their ID and date of saving, to restore a revision, simply click on a revision in the list.

This button allows you to generate the saved page as a PDF. Any unsaved changes will not be exported, so make sure you save your page before exporting.
Once clicked, the page is immediately added to the exporting queue, the PDF will prompt to be saved on your computer shortly. The speed of PDF export will depend on the size of your page and its content.

This button saves the changes on your page.

This button exits the page after saving the changes.
Here are the available functionalities in the Text Toolbar:

Inside a Text Container, these buttons allow you to revert backward and forward.
This dropdown allows you to choose a font family, first click inside a Text Container and choose a font family.
Changing the font family applies the new font to the entire selected Text Container. Currently it is not allowed to have different font families in one Text Container.

Click on this button to choose a heading type (H1, H2, H3, H4, H5, H6 and Paragraph).
In a Text Container, select the text you want to style as a heading, then click on the Heading button and choose a style.
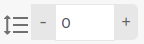
This allows you to change the size of your font.
Click inside a Text Container and increase or decrease the font size.
Changing the font size applies to the entire selected Text Container, currently it is not allowed to have different font sizes in one Text Container.

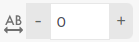
Indent the content of a Text Container.

Allows you to add Numbered lists and bulleted lists in Text Containers.

These buttons allow you to add a link to text, e.g add an external link to a webpage. Click on a container that has text in it, click on the Anchor button (chain icon), a pop-up window will appear allowing you to type the URL and the text to display, once done, click on “Add”, the link will be added to your container.
Note: Currently, the link applies to an entire Text Container.

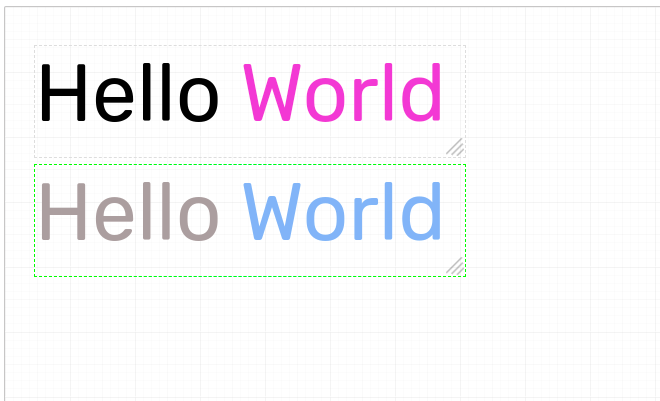
These color pickers allow you to change the foreground and background colors of selected text.

To access this icon, expand the Text Toolbar by clicking on the green arrow  on the extreme right hand side
Allows you to superscript or underscript a character or a word.
To superscript, select the text you want to superscript, then click on the Superscript icon.
To underscript, select the text you want to underscript, then click on the Underscript icon.
To access this icon, expand the Text Toolbar by clicking on the green arrow on the extreme right hand side
To access this icon, expand the Text Toolbar by clicking on the green arrow on the extreme right hand side
The Editing Area is where you place your text containers, images and tables, the PDF export will take into consideration all the visible elements in the Editing Area, any off-canvas elements will not be exported in the final PDF.
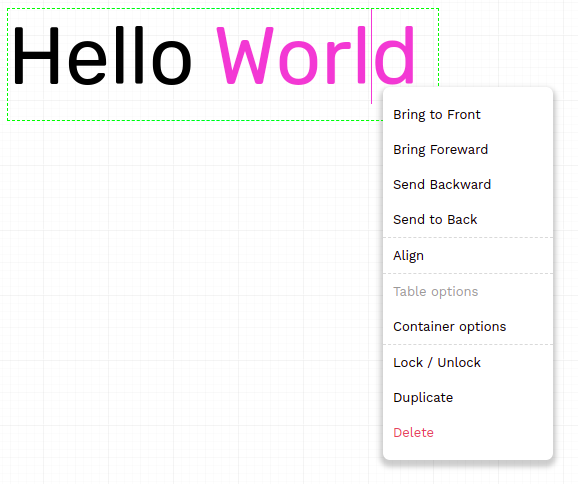
The Contextual Menu is accessible from the Editing Area when right-clicking on the mouse.
The Contextual Menu provides you with functionalities editing. Below are the available functionalities.
To move containers around, hold the Alt key on your keyboard, then click and hold inside a container, then move it with you mouse. When you happy of the new placement, release the mouse click.
You can resize a Container by left-clicking on the mouse and holding the resize handle  on a Container, the resize handle is located at the bottom right edge of all Containers.
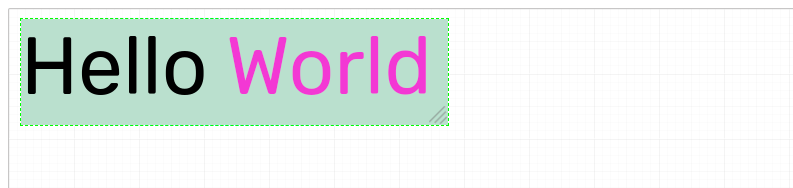

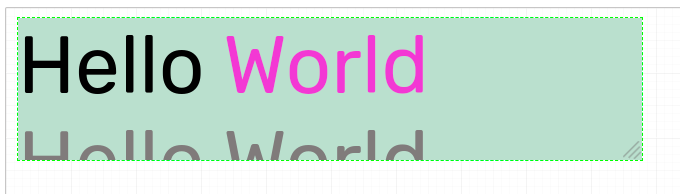
Resizing Containers can sometimes hide some areas inside the Containers, hidden areas will not be visible in the exported PDF, you can use this to your advantage to maximise design possibilties.
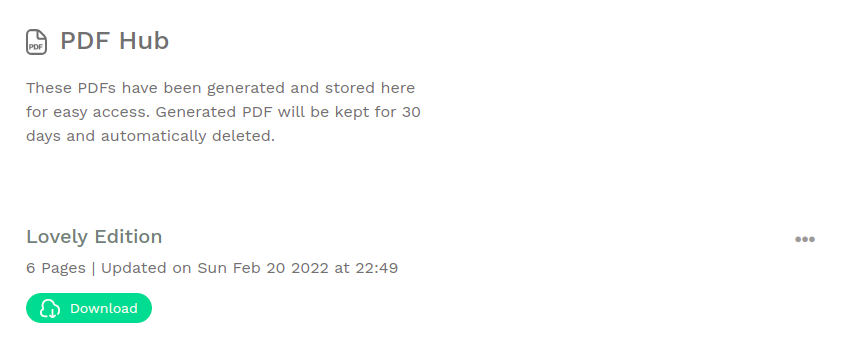
When you export an Edition, it is added to the generation queue and eventually exported as a single file PDF.
Exported PDF show in the PDF Hub page.
To access and download the exported PDFs, click on PDF Hub from the main sidebar navigation.
Exported PDF Editions are kept on our servers for 30 days, after which they are automatically deleted.